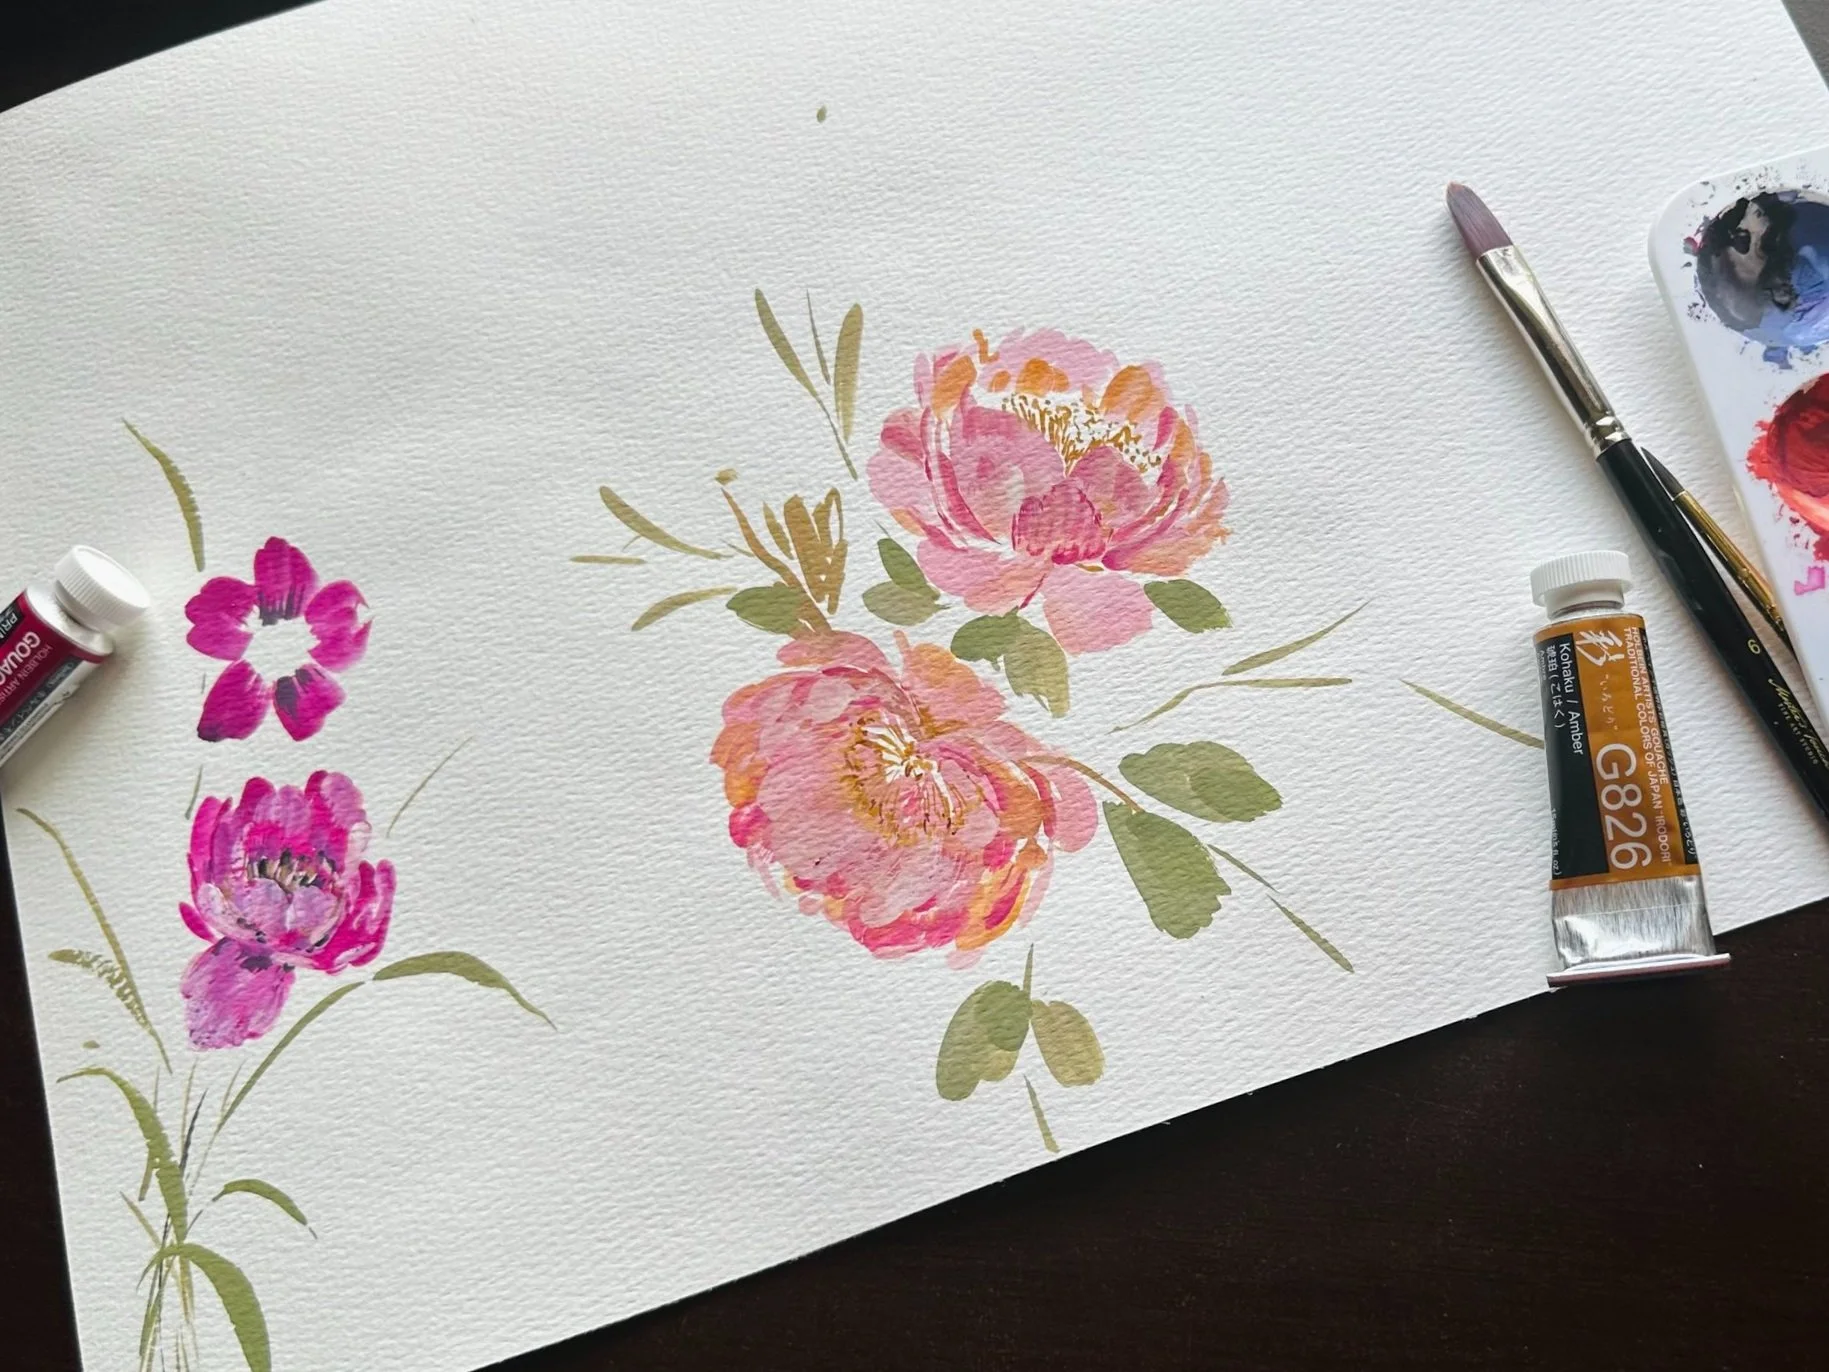
In the world of visual art and design, composition is the silent guide that leads the viewer’s eye through your work. Whether you’re an artist, illustrator, photographer, or graphic designer, planning your composition is a crucial step that can make or break the effectiveness of your piece. In this blog post, we’ll explore how to thoughtfully plan your composition, ensuring that your artwork not only captures attention but also conveys the intended message with clarity and impact.
Why Composition Matters?
Composition isn’t just about arranging elements on a canvas; it’s about storytelling, emotion, and communication. A well-planned composition can evoke specific feelings, guide the viewer’s focus, and create a lasting impression. It’s the foundation upon which all great visual works are built.
Step 1: Define Your Purpose and Audience
Before you put pencil to paper or cursor to screen, take a moment to consider the purpose of your work. What do you want to convey? Is it a feeling of serenity, or a narrative? Understanding your purpose will inform every decision you make throughout the composition process.
Next, think about your audience. Who are they, and what are their preferences? Tailoring your composition to resonate with your target audience will enhance its impact and effectiveness.
Step 2: Gather Inspiration and Build a Mood Board
Inspiration is everywhere—nature, architecture, other artists' work, even daily life. Take time to gather visual references that align with your vision. Analyzing existing compositions that you admire can provide valuable insights into what works well. Sometimes looking into your own old work can spark new ideas.
Creating a mood board is a great way to collect and organize your inspiration. Include images, color palettes, textures, and even typography that align with your intended message. This visual reference will be your guide as you plan your composition.
Step 3: Establish Your Focal Point
Every composition needs a focal point—a primary element that draws the viewer’s eye. This could be a subject, object, or a specific area of your design that you want to emphasize. Once you’ve identified your focal point, you can start building your composition around it.
Visual hierarchy plays a key role here. Decide what elements are secondary and how they support the focal point. This hierarchy will guide the viewer’s journey through your artwork, ensuring that the most important elements receive the attention they deserve.
Step 4: Experiment with Thumbnails
Thumbnails are small, quick sketches that allow you to explore different compositional possibilities. This stage is all about experimentation. Don’t be afraid to try different layouts, from traditional approaches like the rule of thirds to more unconventional compositions.
Thumbnails are low-commitment, so you can freely explore and refine your ideas without worrying about the details. Often, you’ll discover new possibilities that you hadn’t initially considered.
Step 5: Consider the Elements of Design
With a potential composition in mind, it’s time to dive into the elements of design—balance, contrast, rhythm, and unity.
- Balance ensures your composition feels stable and harmonious, whether it’s symmetrical or asymmetrical.
- Contrast helps highlight key areas by playing with differences in color, size, or texture.
- Rhythm and Movement guide the viewer’s eye through the composition, creating a dynamic flow.
- Unity and Harmony ensure all elements work together cohesively, creating a unified whole.
Each of these elements contributes to the overall effectiveness of your composition, so take time to carefully consider how they interact in your work.
Step 6: Make Use of Space
Space is just as important as the objects within it. Positive space refers to the areas occupied by elements, while negative space is the empty area around them. Effective use of negative space can prevent your composition from feeling overcrowded and can highlight key elements.
Additionally, consider depth and perspective. Techniques like overlapping elements, scaling, and using a vanishing point can create a sense of depth, making your composition feel more immersive and dynamic.
Step 7: Refine and Adjust
Once you have a basic composition, it’s time to refine and adjust. At this stage, feedback can be incredibly valuable. Whether it’s from peers, mentors, or even a fresh look after a break, external perspectives can reveal areas that need improvement.
Based on feedback or your own observations, make necessary adjustments to improve balance, alignment, and overall flow. This refinement process is where your composition truly comes to life.
Step 8: Finalize and Test
With your composition refined, it’s time to finalize. Add any last details, fine-tune textures, and ensure that everything aligns with your original vision. This is the stage where your composition transitions from a plan to a polished piece.
Before calling it finished, test your composition in different formats or color variations. If your work will be used across different products—such as fabric, homeware or any other surface—ensure it maintains its impact in each context.
Step 9: Execute with Confidence
Now that your composition is planned and refined, it’s time to bring it to life. Whether you’re painting, designing digitally, or working in another medium, trust in the groundwork you’ve laid. Execute your vision with confidence, knowing that your careful planning has set the stage for success.
Conclusion
Composition is more than just arranging elements, it’s the art of visual storytelling. By following these steps—understanding your purpose, gathering inspiration, experimenting with layouts, and refining your design—you’ll be well on your way to creating compositions that captivate and communicate with clarity. So next time you start a new project, take the time to plan your composition thoughtfully. Your work will be all the better for it.


